What is it?
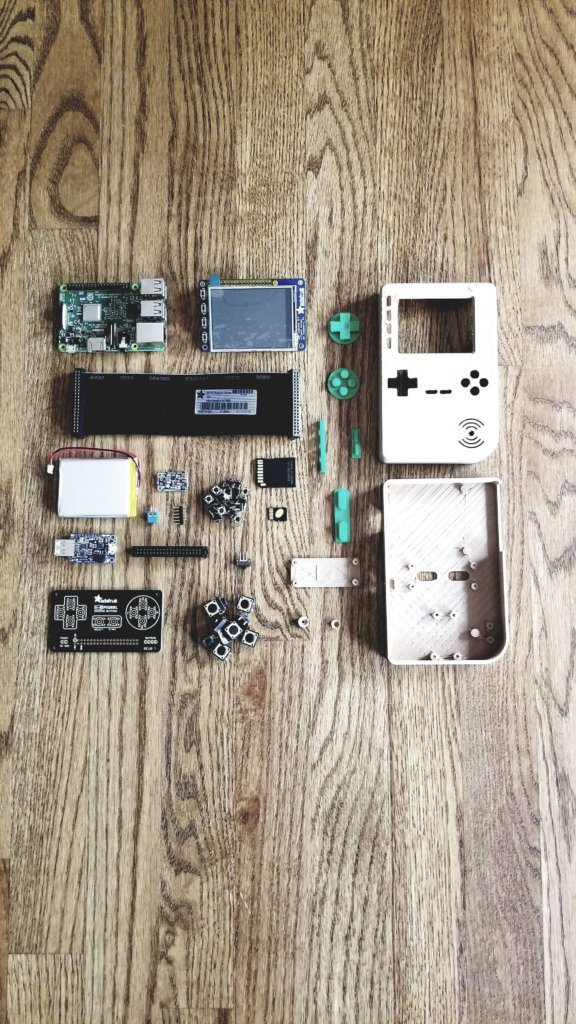
The PiGrrl 2 is an emulation machine. An emulator is hardware & software that enables a computer system to behave like something it’s not. In this case, the hardware is the Raspberry Pi. The software is Retropie, which provides the infrastructure necessary for emulator launch and control. Emulation Station works in consort with Retropie, serving as a graphical front-end for the system. Numerous cores then emulate various game consoles and home computers, all of this accomplished by the RetroArch framework. Retropie ties all these components together into one complete emulation package. What does all of this mean? You can now play thousands of classic game titles across multiple platforms all in the palms of your hands. Pretty cool huh? We think so too. That’s why we here at Starter Design brought you our build of the PiGrrl 2.
Where did it come from?

Adafruit designed the PiGrrl 2 gaming-platform as a learning system for makers. It gives the avid enthusiast a chance to get their hands dirty with 3D printing, electronic circuitry and the basic tasks associated with setting up a Raspberry Pi. Most importantly, there’s the added benefit of being able to play all of your favorite classic games in the process. The PiGrrl 2 is the successor to the Adafruit Raspberry Pi Gameboy. It had certain enhancements, including an upgraded gamepad pcb and PiTFT screen which offered more buttons to the user as compared to its predecessor. Upgrading the unit’s performance was the Raspberry Pi Model 2, which Adafruit designed the unit around.
Why build one?
Originally I came across this build a couple years ago when a customer approached Starter to print the flexible game-pad buttons. I immediately printed another set and kept them for later once I figured out what they were for. I personally have been a video game enthusiast for most of my life. The opportunity to flex the muscles of Starter Design and revisit all of my favorite childhood games as a result simply could not be refused. Starter Design decided to take on the PiGrrl 2 challenge and build one.
How does this build differ from others?
A few upgrades were implemented along the way. The Raspberry Pi Model 3B+ upgraded the unit’s performance. The case, printed with Hatchbox Wood-Filled PLA, contains a small percentage of real wood fibers. Sanding and staining can now be done just like it is for normal wood. It took some experimentation to get it right but the finished look of the case speaks for itself. And then there are the thread bosses. 3D printed threads are unreliable and wear out after repeated use. This inspired the installation of Heat-set brass inserts on all the 3D printed bosses. The brass inserts guarantee easy assembly and disassembly of the unit for future upgrades and maintenance.
Interested in having a custom-classic gaming console of your own? Feel free to Contact Us at Starter Design today. We’ll bring it to life!
Contact UsResources:
- PiGrrl 2 – Adafruit Learning System
- Retropie – Retro Gaming on the Raspberry Pi
- Raspberry Pi Foundation

